
I know this is a day late, but it's worth mentioning on here anyways! So many people have no idea that there are natural alternatives to dying Easter eggs. No more dunking in colored water that stains like no other substance on Earth! Dyeing Easter eggs is pure fun, and I am glad I found a safer and much more fun method! I was sent the All-Natural Egg Dye Kit by Jupiter's Child and I fell in love. All I can say is they had better have this kit available next year!! No, that is not a threat, I swear! It's more like a passionate plead! My three year old had a BLAST doing this, even if it was a day after Easter! Come on, what three year old kid will say no to dyeing eggs again?? I think he had even more fun the second time around.
So what IS a natural egg dyeing kit and what does it consist of? I will tell you! Oh! I do not have any pictures of my own because I was happily finger painting along with my child, but I will be posting Jupiter's Child stock photos for your amusement and curiosity.
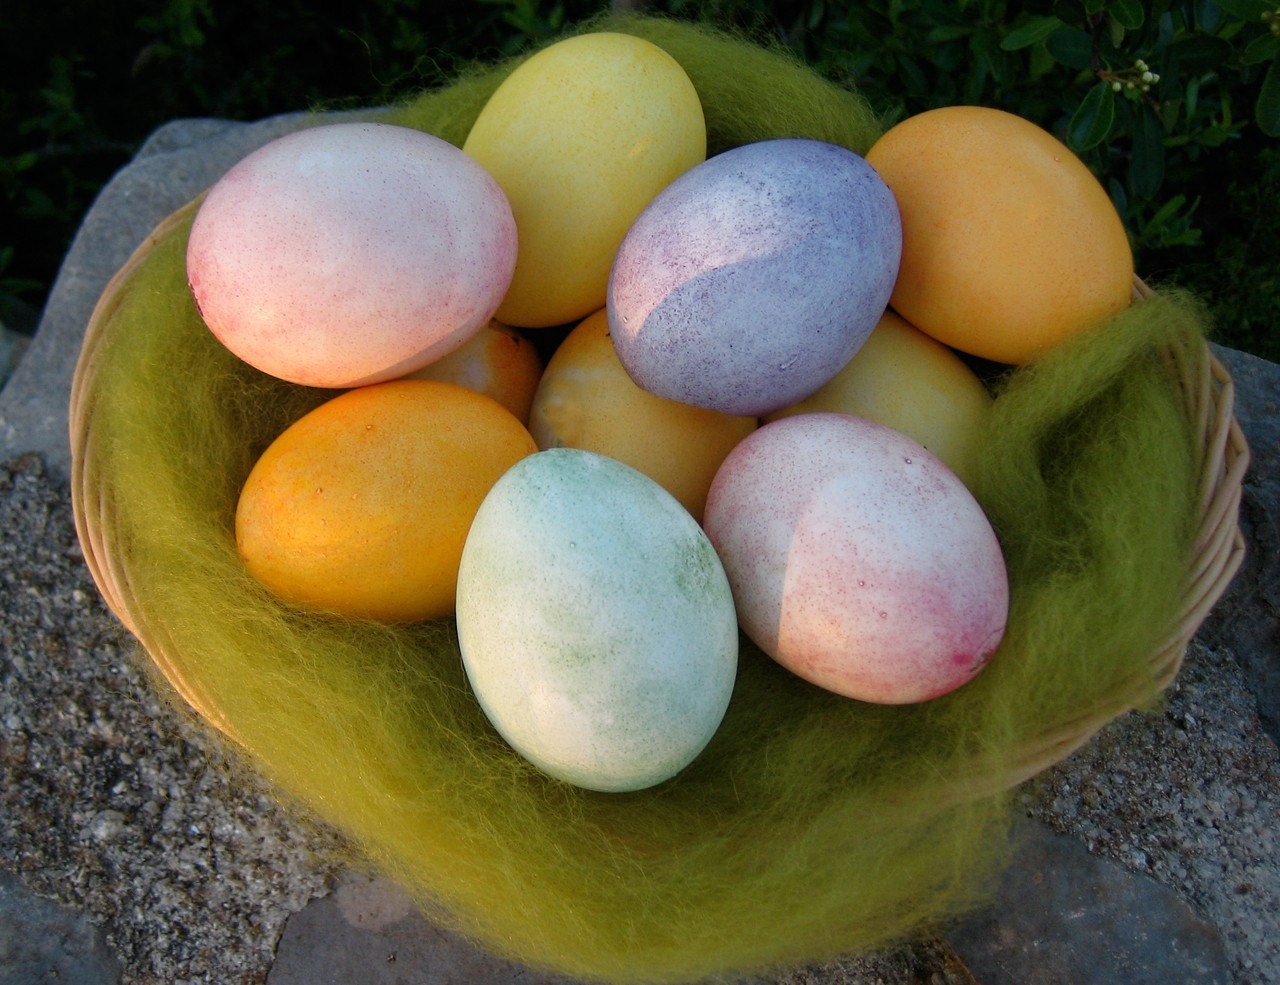
Dyeing eggs with plant-based dyes can't even be compared to dyeing with chemical dyes. There really is no comparison, because each process is SO different. Like I said above, you don't dunk with natural dyes. You use your fingers to paint on designs and wipe the egg with a dry paper towel. The paste gets wiped away, and in it's place is a soft color reminiscent of Spring blooming all around us. I adore the soft colors of plant-based dyes and I will never go back to the commercial chemical filled kind!
So here is the process, step by step for you:
1) Boil your eggs and let them get good and dry. This takes a ton of patience for a three year old!
2) Remove all materials from the fun little kit. Everything came labeled and was so easy to sort. What is in the kit?
- 5 packets of dye powder(green, orange, yellow, pink and purple)
- 5 stir sticks
- 7 paper cups
- 3 egg rings(for decoration)
- Wheatgrass seeds
- Potting Soil
- Wooden egg cup
(during this step, we only need the dye powder, stirring sticks and paper cups)

3) Collect materials from the home: measuring spoons, paper towels, vinegar and vegetable oil. We also put our art shower curtain over our table, but you can use old newspaper as well.
4) Empty each dye packet into the corresponding labeled cup. The 2 remaining smaller paper cups are for vinegar and vegetable oil and we were to fill them each half full with each item. One 1/2 full of vegetable oil and one 1/2 full of vinegar. Easy enough.
5) Add the proper amount or water, vegetable oil or vinegar to each color. The instructions give you very clear details on how to do this, I am not going to write it all out for ya though! In the end you should get a soft paste almost like cake frosting. If they are dry or crumbly, you didnt add enough liquid, and please dont make them runny! Oh I should also add that the green mixture gets a little foamy and it was so much fun for my three year old!
6) Use fingers to spread the pastes onto the eggs. I personally LOVED this step and so did my very impatient son!! I liked it so much because you could put several colors on one egg! How hard would that be if we had to dunk them into liquid? It would be a horrible mess! Once we were done coloring, we let them set the 3-5 minutes the instructions said and then we used dry paper towels to remove the thin layer of paste. I would like to state that instructions say to apply a THIN layer of paste, but Michael didn't listen very well in the beginning. He got better and it was all good. A little goes a looong way though. Try telling that to a three year old!
7) We washed our hands between colors when we could, but once again, I had a little guy old in tow and that didn't happen a couple of times. I wasn't expecting the Mona Lisa though! We had a blast and that is all that mattered to US. If you want to create decorative eggs, please, wash your hands between colors.
8) Last, when the dyeing is all done, use your fingers to spread a little bit of vegetable oil on the eggs and then buff them dry with a paper towel. This process helps protect the color and makes the eggs look so beautiful!
There! All our steps, even if a few of them got out of order for us! This is amazingly fun to do with kids! If your little ones are prone to allergies, please note that these are natural dyes made from various plants and food grade ingredients. Make sure you test the dye mixture on a small patch of skin before coloring eggs. We don't want any allergic little ones to get hurt here!
Okay, the coloring was a BLAST, but I love the second part! I know you may be a little puzzled wondering what there could possibly be left once our eggs are all gorgeous, but there is something fun included in this kit(see kit list above). This Easter egg dyeing kit is different than all the others because it comes with wheatgrass seeds, soil and an egg holder! All you do is use a knife tip or needle to carefully poke a hole into the top of an egg. Dump out the yolk and egg white. Then use a knife to carefully enlarge the hole until the top 1/3 of the egg is gone. Rinse out your eggshell and place it in the wooden egg cup. Fill the eggshell with potting soil. Push 1/4 to 1/2 tsp of the wheatgrass seeds into the soil. Add a little water every day and watch your wheatgrass sprout in 3-5 days! My son cannot wait for his little egg to grow grass! He also wants to paint his egg cup! I think that is an adorable idea!

Read about the benefits of wheatgrass here.
Jupiter's Child sells an array of cloth napkins and I urge everyone to check it out! I hope to see many other natural items from them throughout the year! I am a huge supporter of using cloth wherever I can and I love their crunchy commitment to using it and selling it!
I LOVED this kit! Have I said that enough?? I cannot wait to buy another one next year. Jupiter's Child, please please please keep making these and thank you so much for the review opportunity! I had a blast...and my son did too! :)
No comments :
Post a Comment